Inventor: 3D Printed Widgets
Inventor is a program that allows anyone to design a 3D or 2D object. You can start with a 2D drawing on a plane and extrude it to become a 3D object, then make cuts or add onto the shape itself. It also has a way to dimension the shape however you want, so you get the 90 degree angles you need, or the specific dimensions you need. Inventor creates a plethora of possibilities of what you can make.
Sketches of Widgets


Step By Step
Widget 4


Step 1: Created a cube by making a 2D drawing, dimension it so it was a 1" by 1" square, then extruding it 1".
Step 2: Created a hole in the cube by making a 2D drawing on the front face and extruding it in reverse so there was a hole.
Step 3: Made a 2D drawing on the front face again, as the cut out for the top.
Step 4: Extruded the drawing in reverse as to cut out the top part of the widget.
Step 5: Used the "Chamfer" function to make the diagonal cut on the final edge.
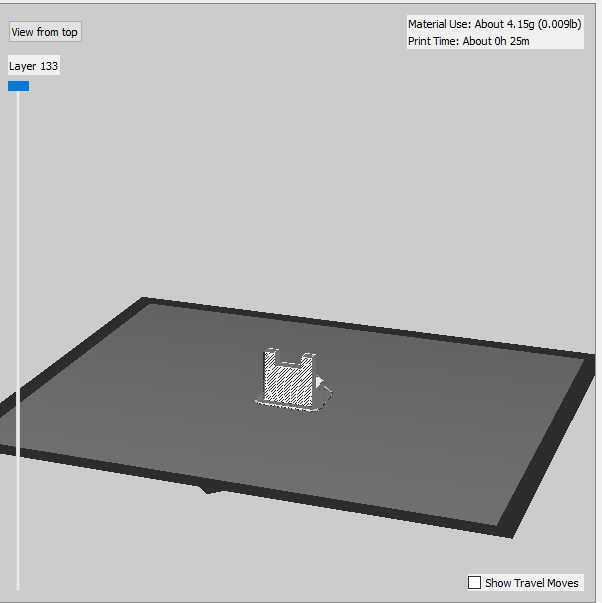
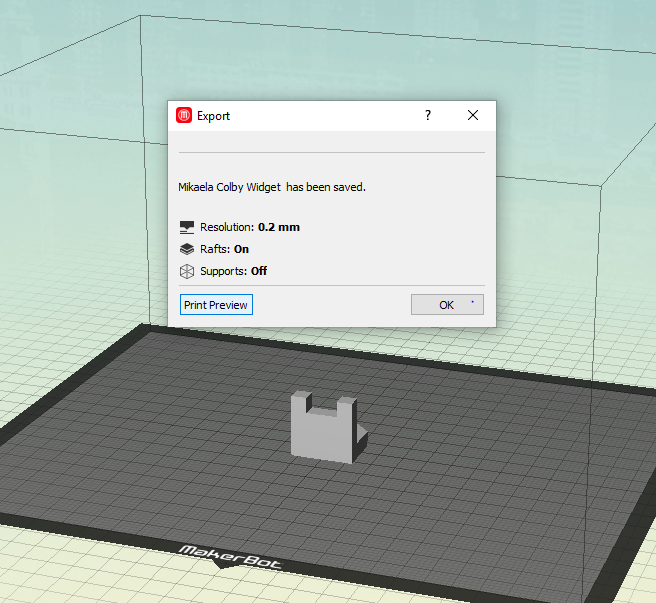
MakerBot
Progress Photos: Print screen and Progress (Saved Widget and View)
|
|
Printing


What I Learned - Inventor
Inventor taught me to be creative when things aren't going my way. I had a couple roundabout ways of making cutouts and extensions and such. It may not have been the fastest way of doing it, but that's what worked for me. I would get frustrated with the way I was trying, but all it would take was a different way of looking at it, trying new numbers, and sometimes starting with a blank slate. It was different, but I persevered and I now really enjoy Inventor. It lets me create whatever I want.
