Individual 3D Print
3D Printing was one of the hardest assignments for me. I had to redo my whole project after the first print attempt got messed up. Fortunately, Ms. Proctor taught me how to do my original print in only four steps, along with the fillets. That made it a lot easier to downsize my project and make it look a lot better in my opinion.
Sketches
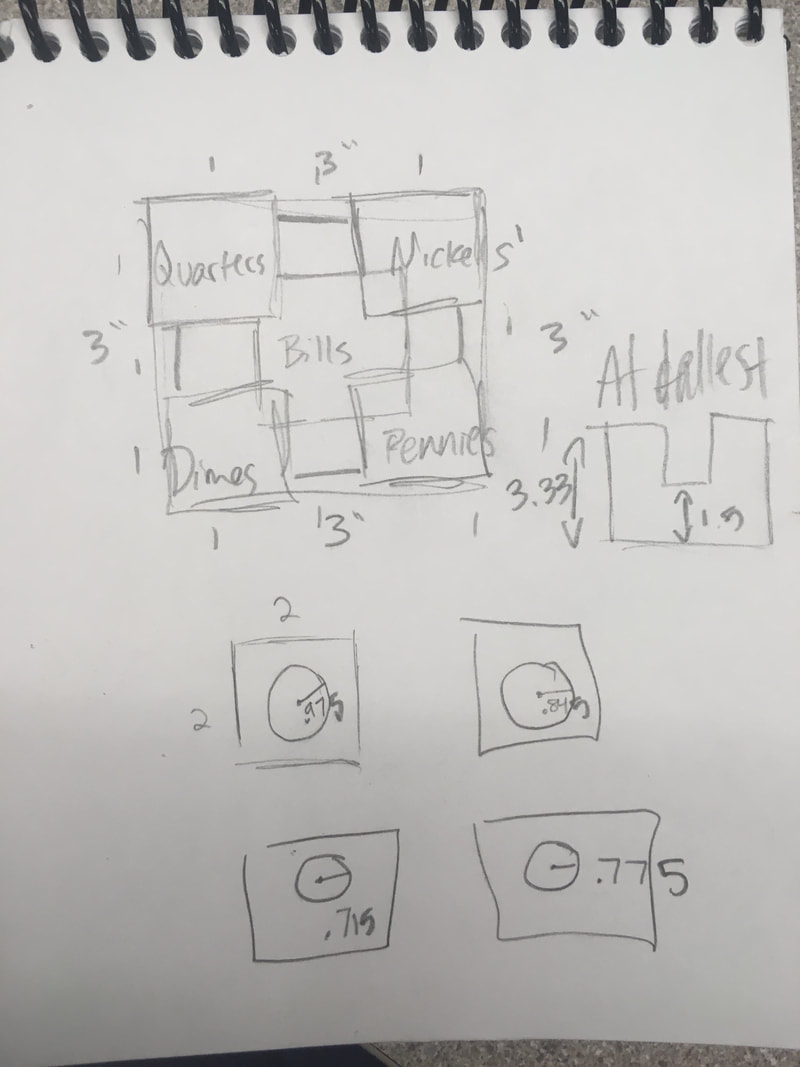
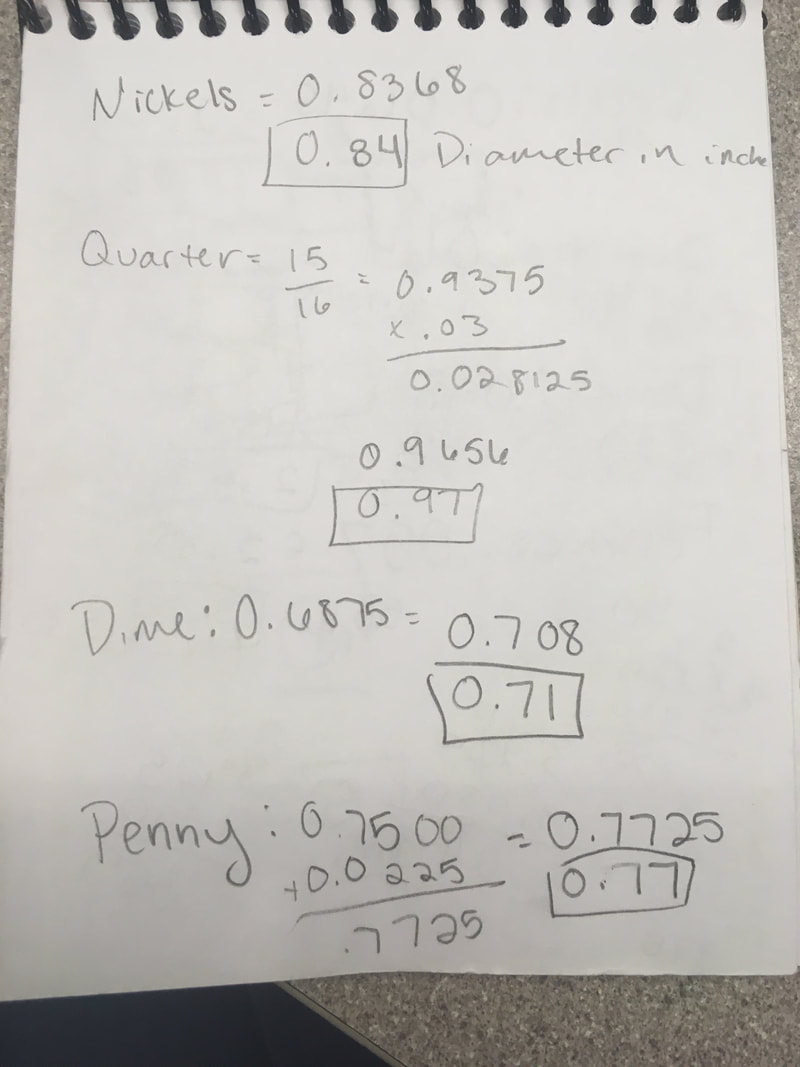
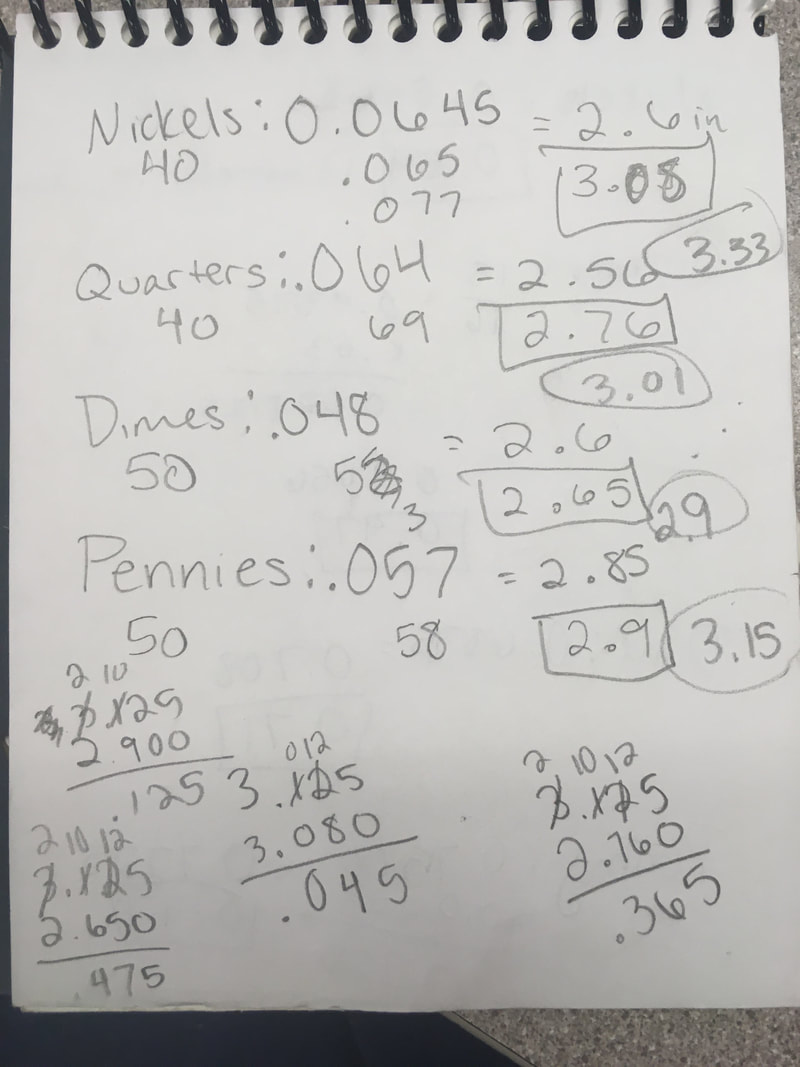
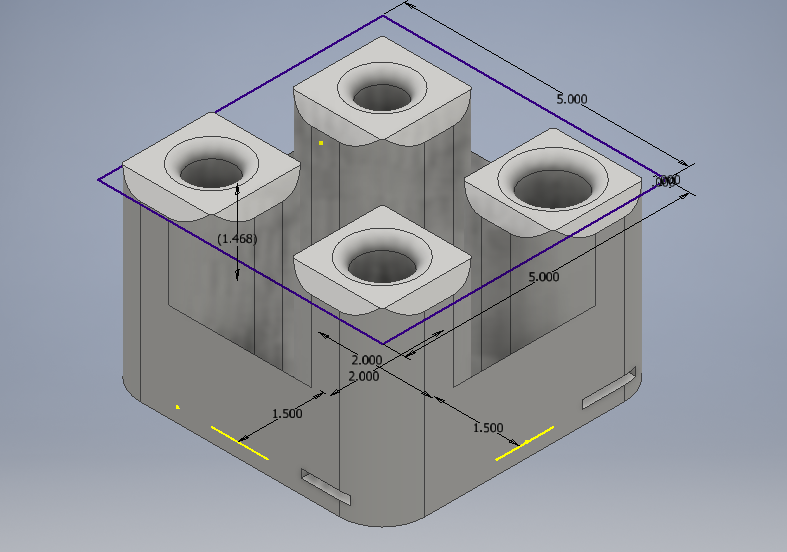
The first image was my original sketch of my design, but along the way I had to downsize and make changes. The other two pictures are of the math I had to do to figure out how tall the posts had to be and how deep the holes had to be. It was a lot of measuring and multiplying, and adding 3% to each hole size so the coins would fit. It wasn't that difficult to input into Inventor, but the math was difficult to do.
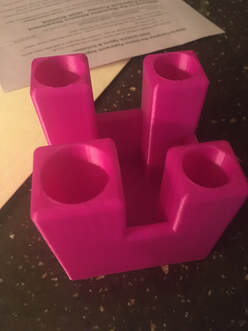
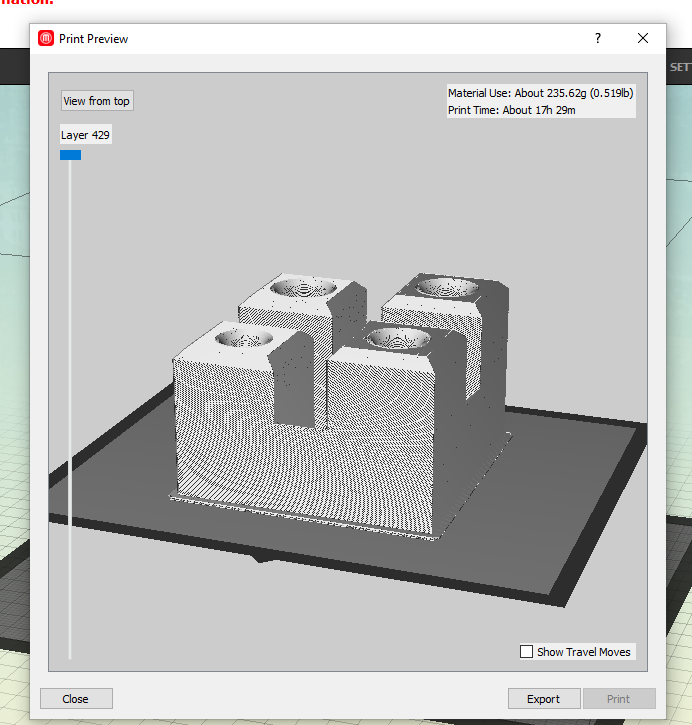
Attempt One
My first attempt failed in the last step. It was 5 inches by 5 inches, roughly 3 and a half inches tall. As it was printing (a 17 hour print), it was stopped and restarted, and the printer went haywire. The filament was wonky in the middle. It ended up being okay, but I had to completely redo my project after this (major) fail. It was a fairly big project, and needed to be resized.
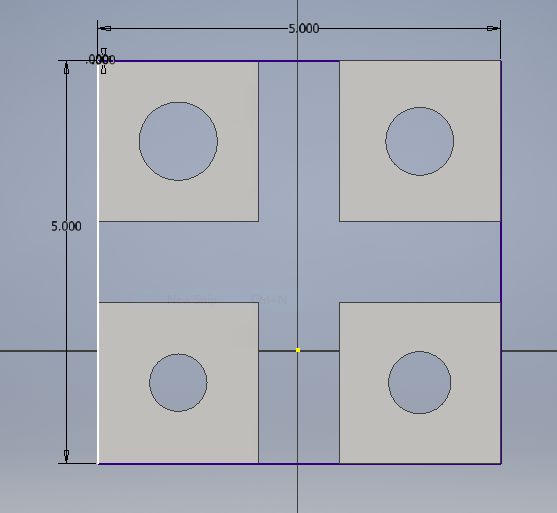
My first image is how I started my sketch out, I made a 5" by 5" square to start it off and I made four equal squares with circles in the middle for the holes for the coins. My second step was to extrude those squares and add a base. I then added slots on the sides to dispense the coins and filleted the edges. There were also side walls so I could put bills in the middle of the four pillars.
Attempt Two
My second attempt was a lot more successful and efficient. Ms. Proctor helped a lot (thank you!) and it was a lot easier to make changes without potentially messing up a sketch. There were bumps along the way, mostly with getting rid of the middle section, but it worked a lot better and much quicker than my first attempt.
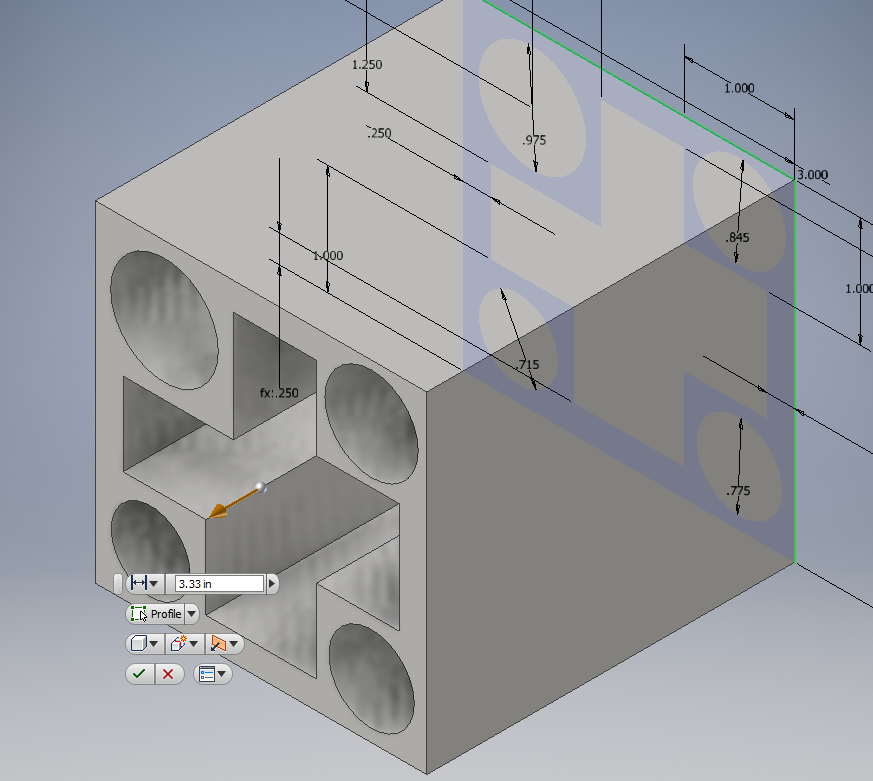
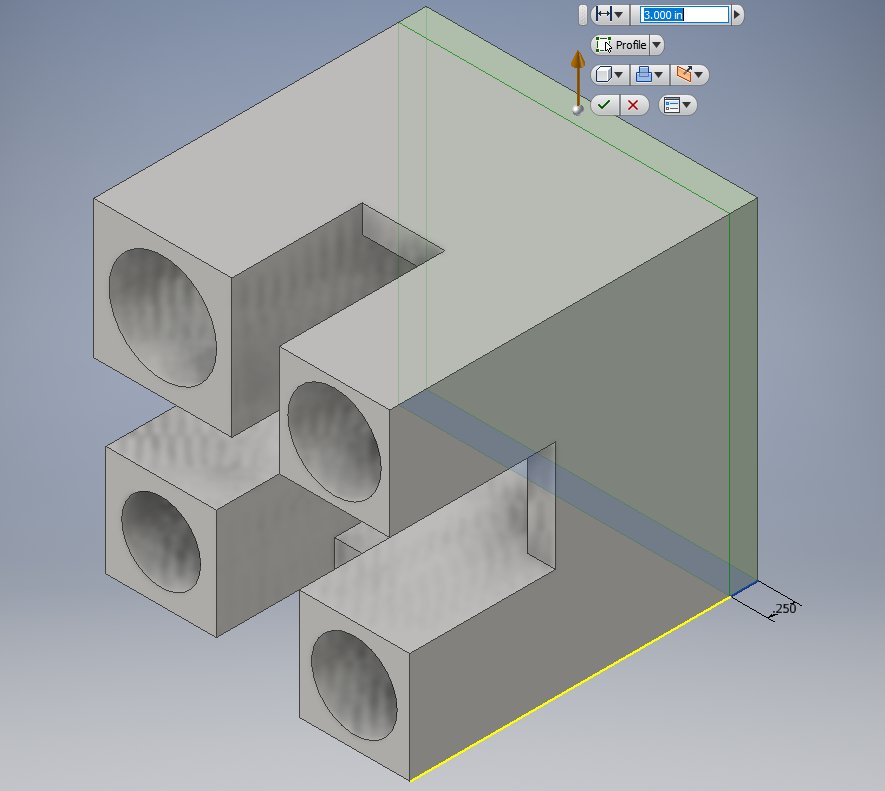

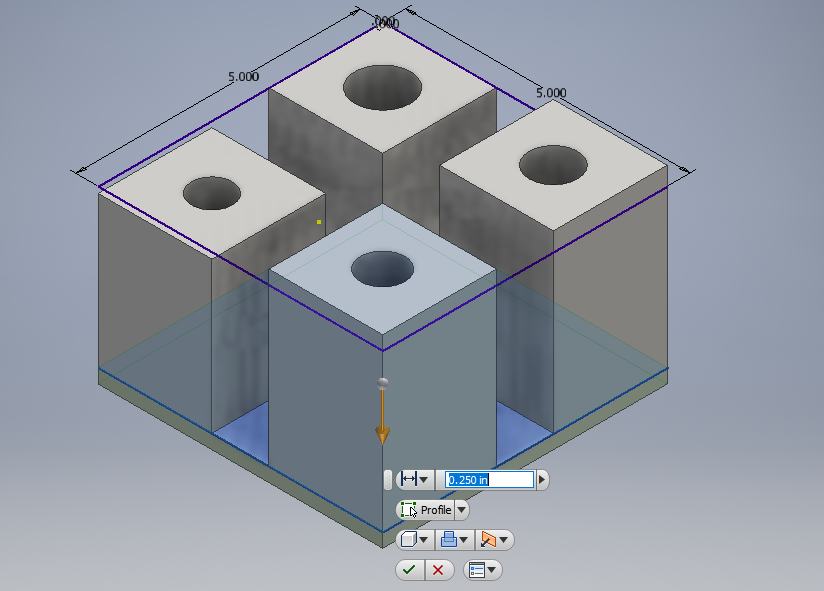
1. First sketch extrusion.
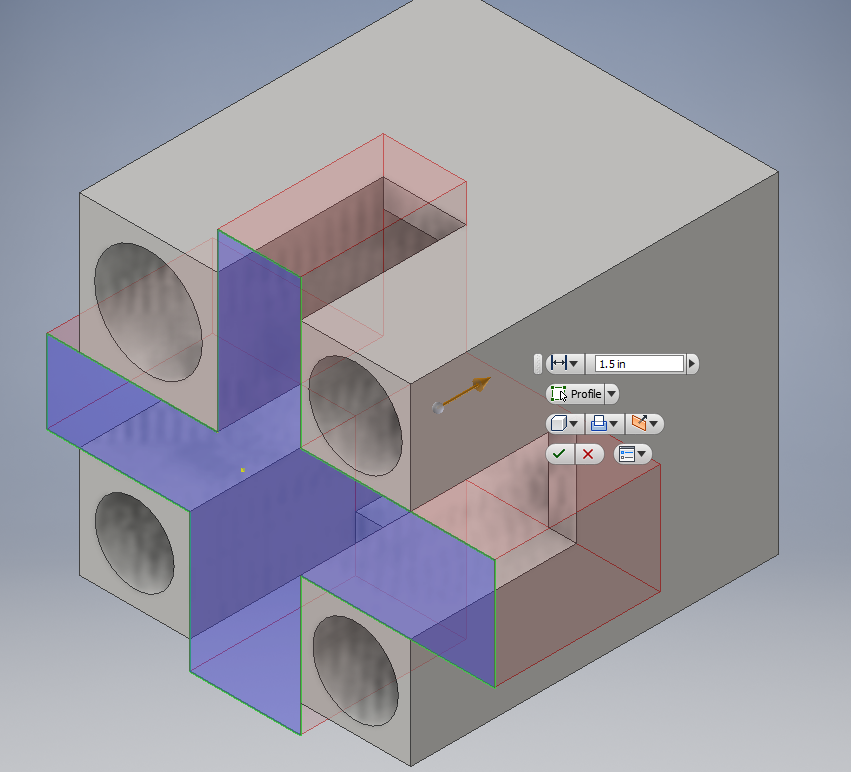
2. Reverse extrusion to cut down the side walls.
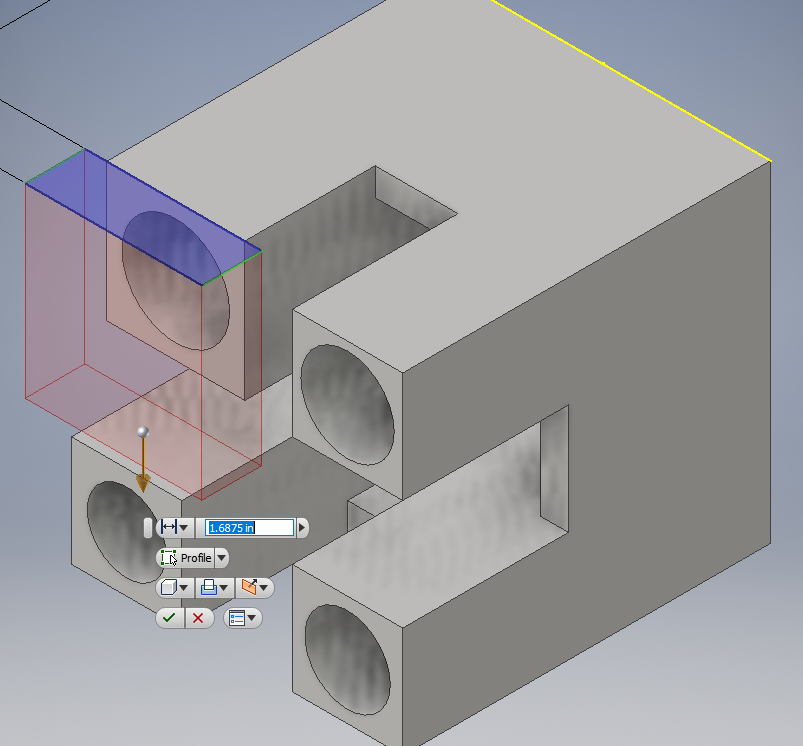
3. Reverse extrusions to cut down the pillars.
4. Extruding a base layer.
5. Fillets on all edges.
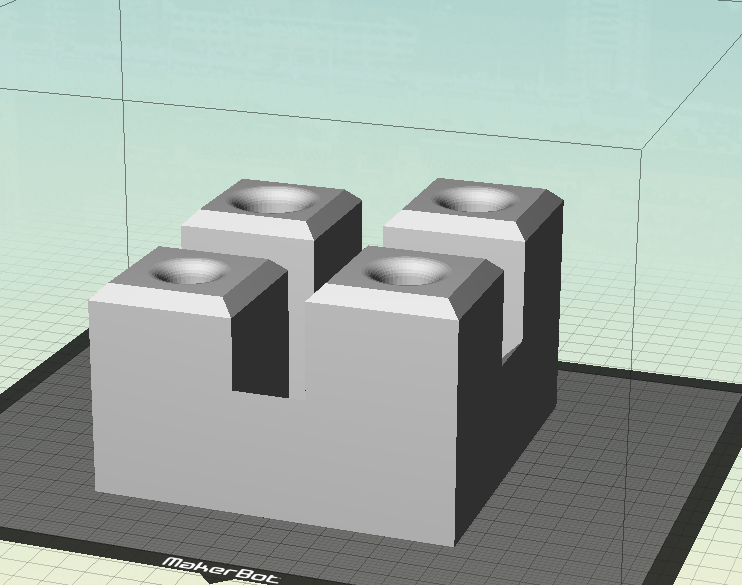
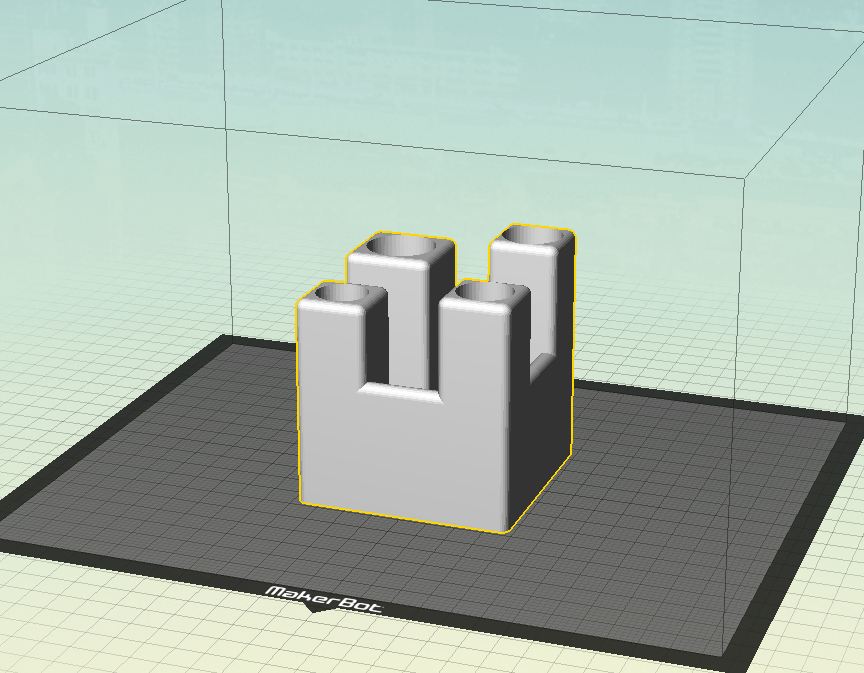
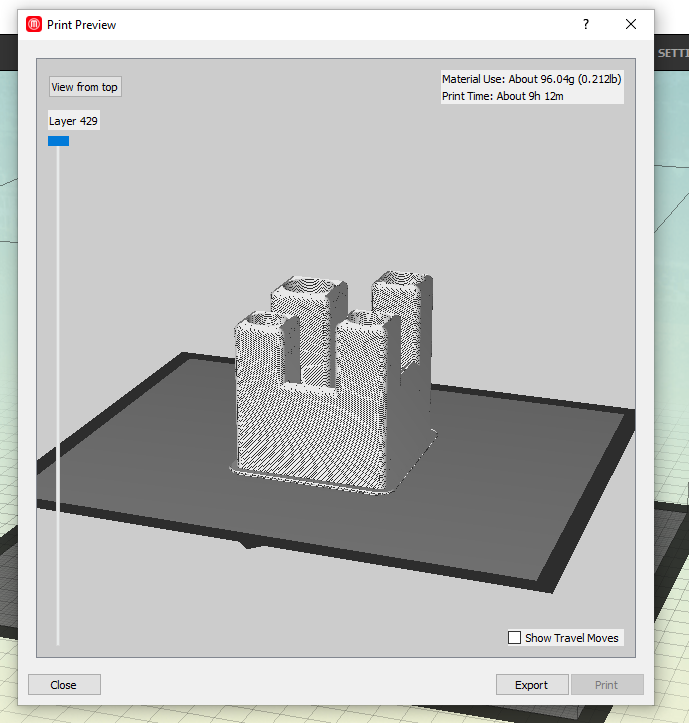
6. Upload to MakerBot
2. Reverse extrusion to cut down the side walls.
3. Reverse extrusions to cut down the pillars.
4. Extruding a base layer.
5. Fillets on all edges.
6. Upload to MakerBot
Attempt One Final Picture
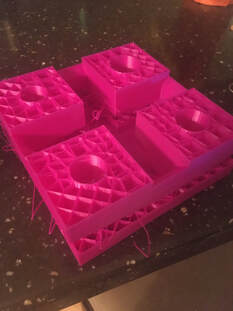
Attempt Two Final Picture