Building a Clock
Building my final project was time consuming and insanely stressful towards the end. It taught me how to be proactive and efficient with my projects, as I was gone for nearly two weeks before finals week, and I had to scramble to complete it. Thankfully, I had most of my files ready to go, so there weren't too many bumps in the road, but I still had a few roadblocks (like Fusion not working). I learned how to use the router a little bit more, and I learned a lot of good time management skills. As I complete this website, I realized another roadblock, but I think it will end up okay by the end. Good things take time. (Thank you Mrs. Proctor)
Sketches
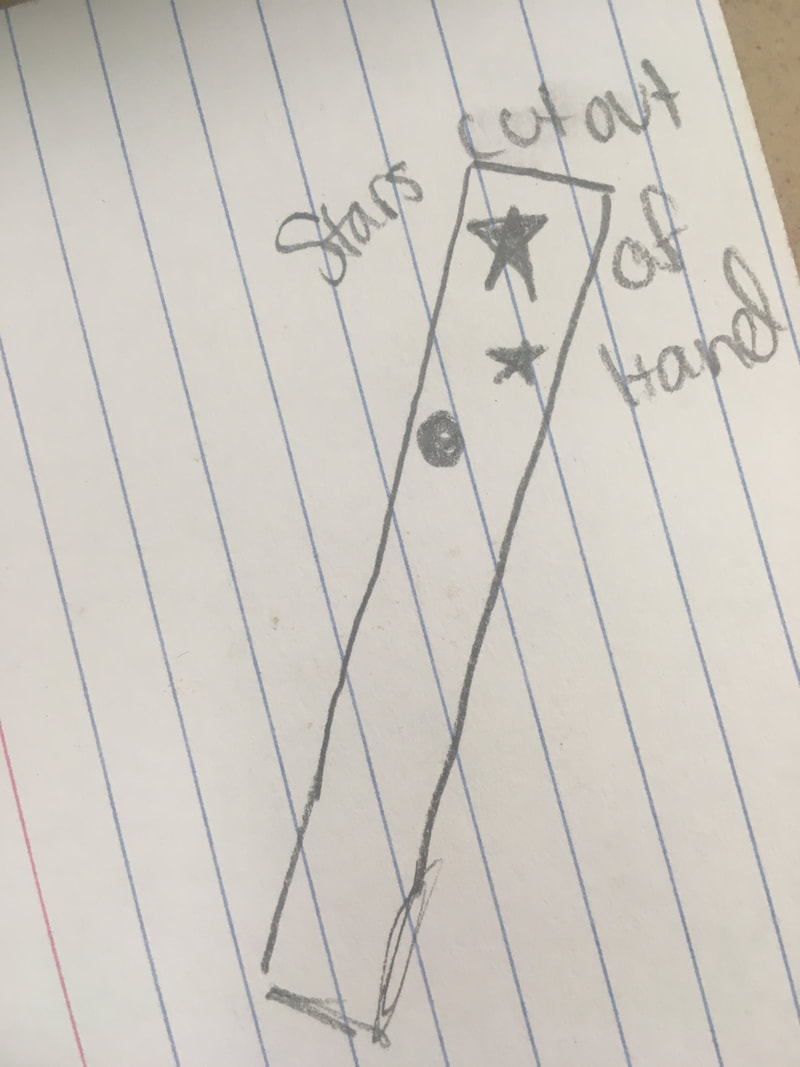
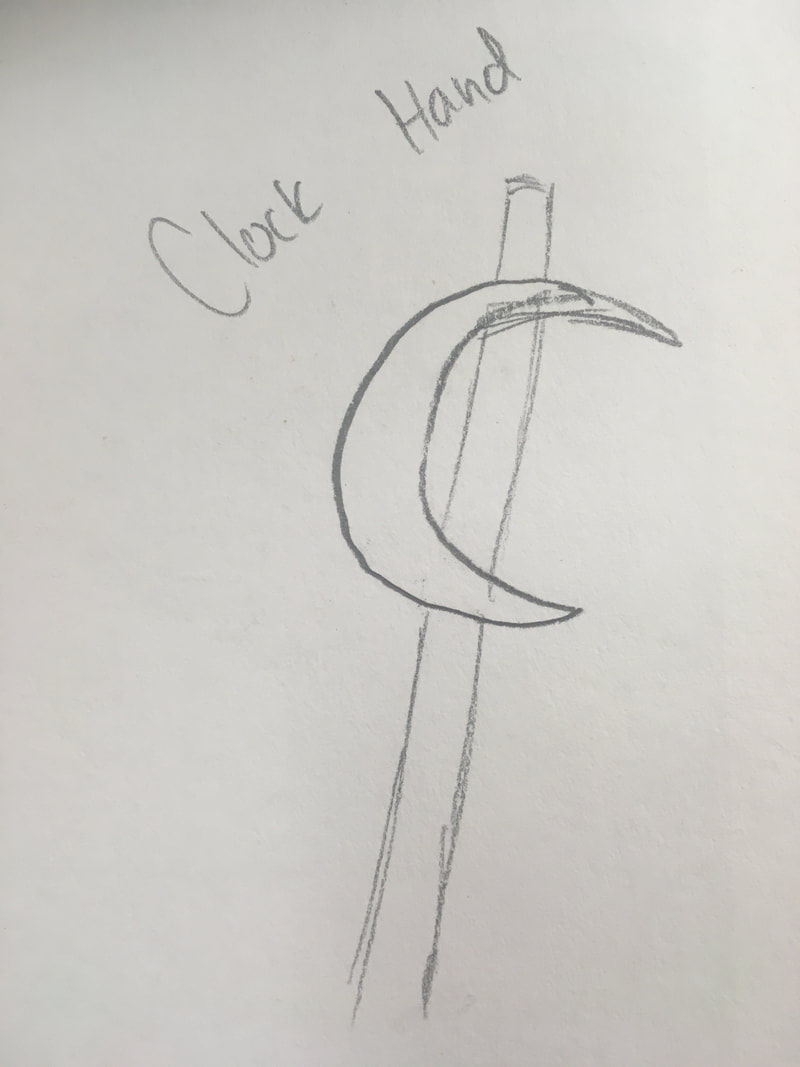
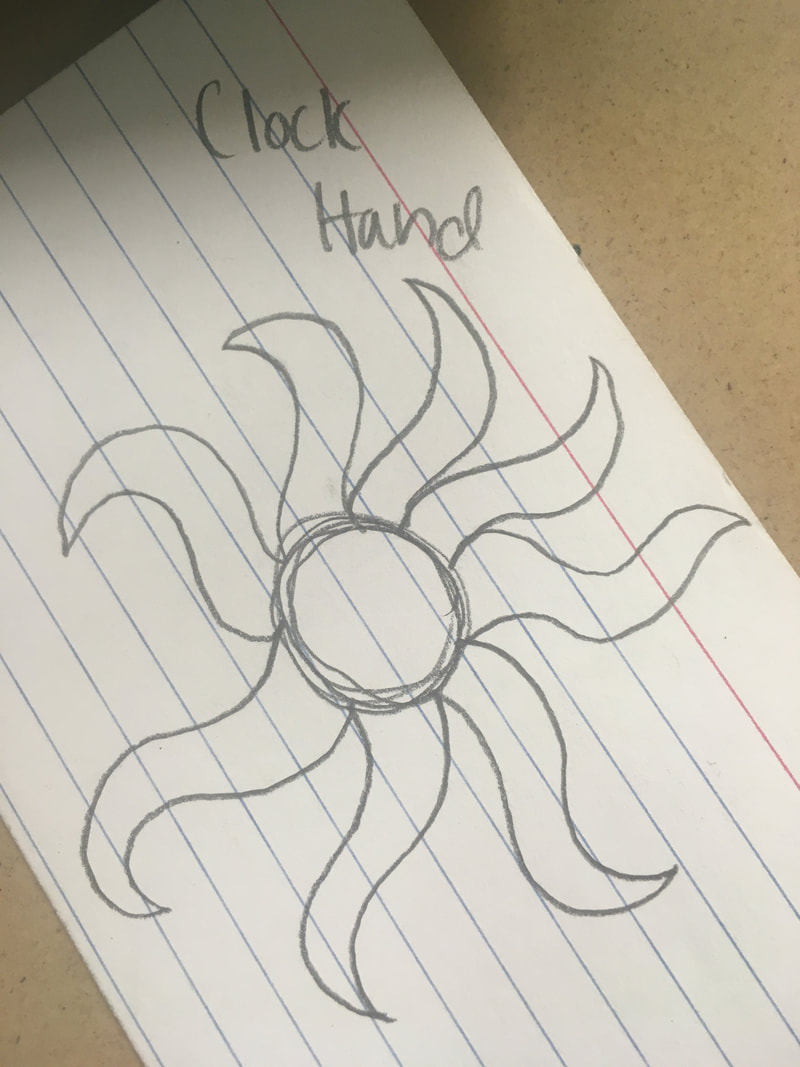
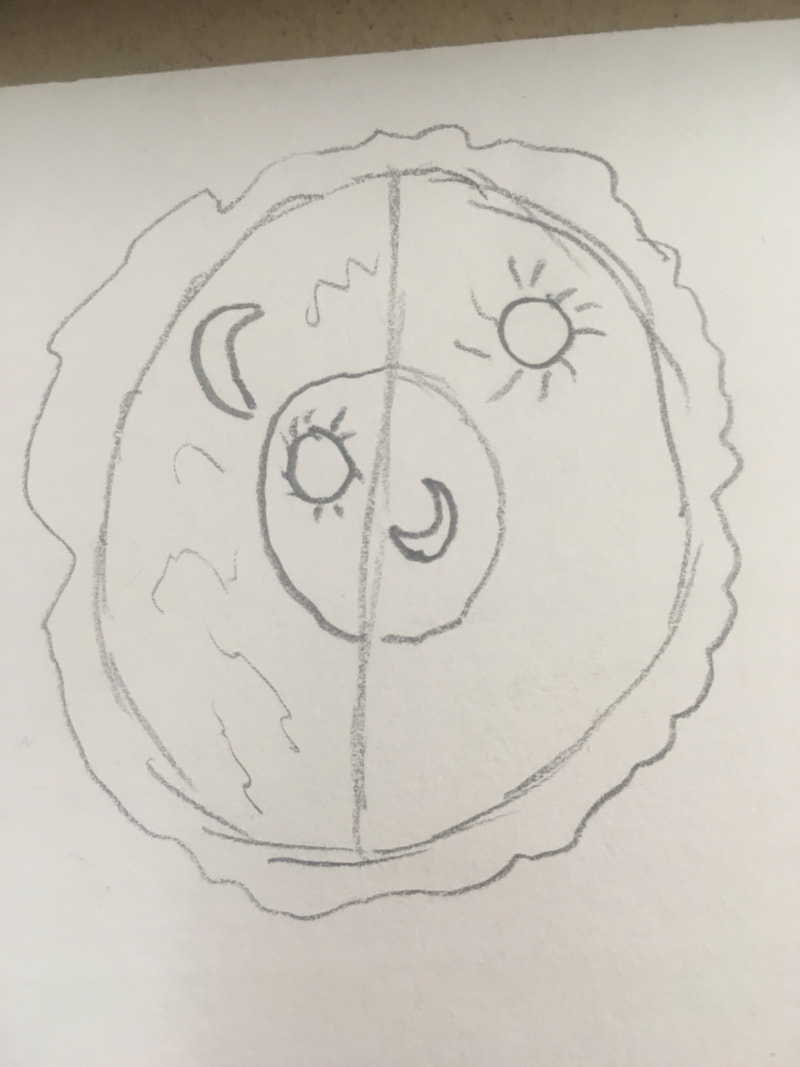
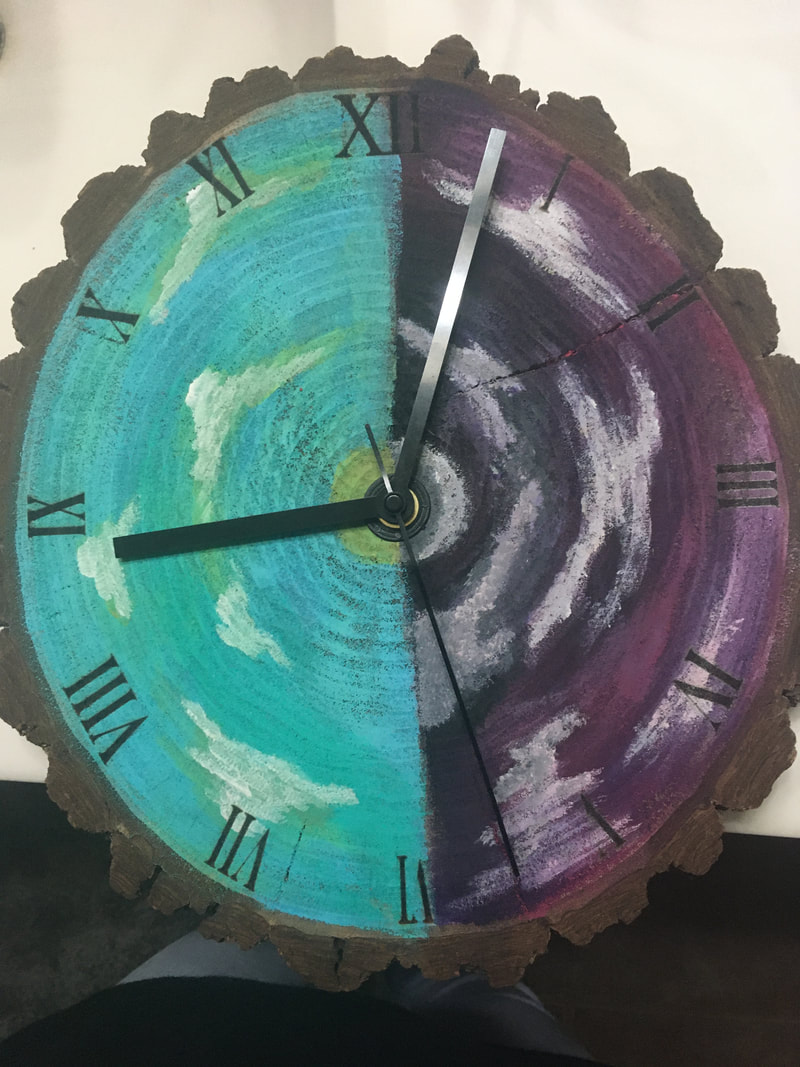
These were my original ideas for my clock face and hands. I ended up using the hands provided with the clock mechanism, as cutting the hands out of mat board proved to be too difficult, and I ran out of time. The clock design stayed relatively the same, except I only did half day and half night, rather than the inner circle as well.
Digital Documents
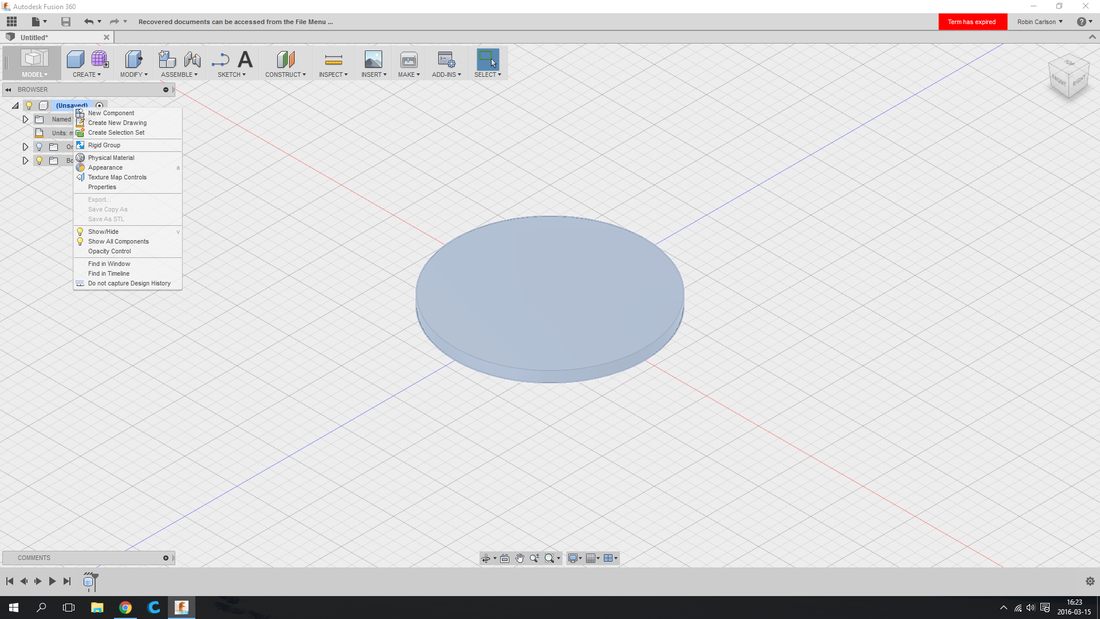

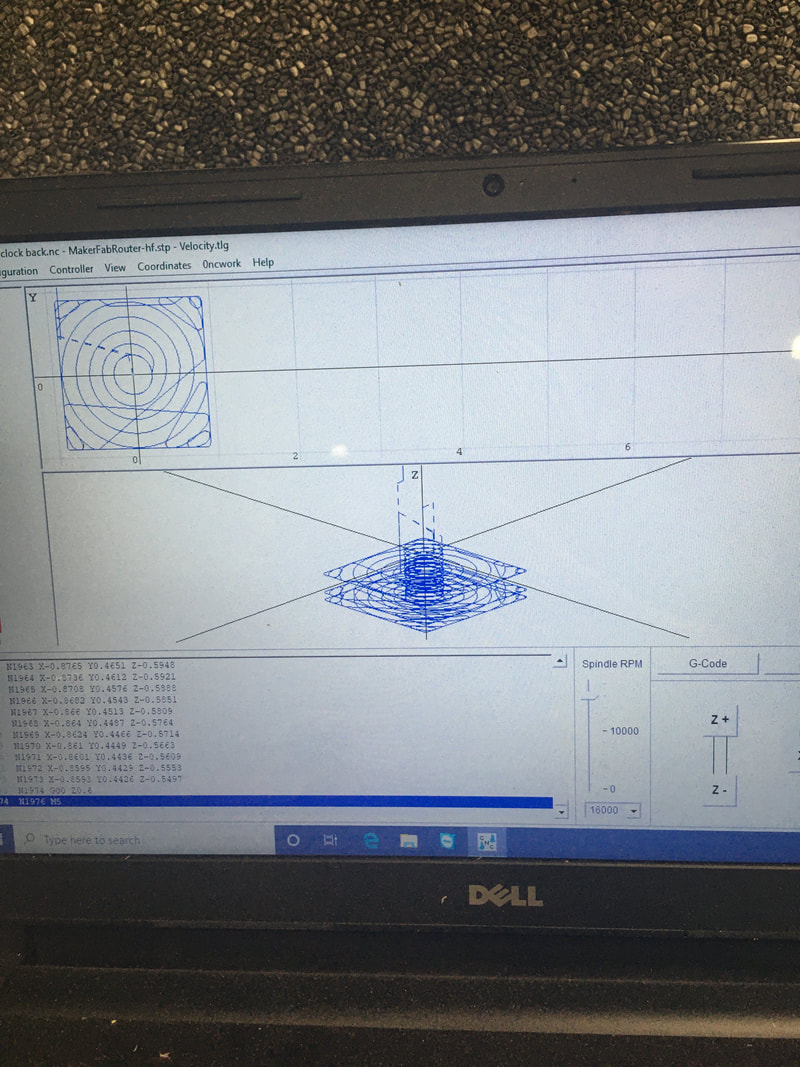
These are my digital files of my clock. I had the original clock circle that I put into Fusion in order to route out the surface and make it flat. I also routed out a square in the back for the mechanism to fit into, but I don't currently have the digital file of that. I had to use a hand router from home in order to make it slightly deeper. I also had the Illustrator file of the numbers that I lasered on. Finally, I have the Makerbot file of the L bracket I made for my clock.
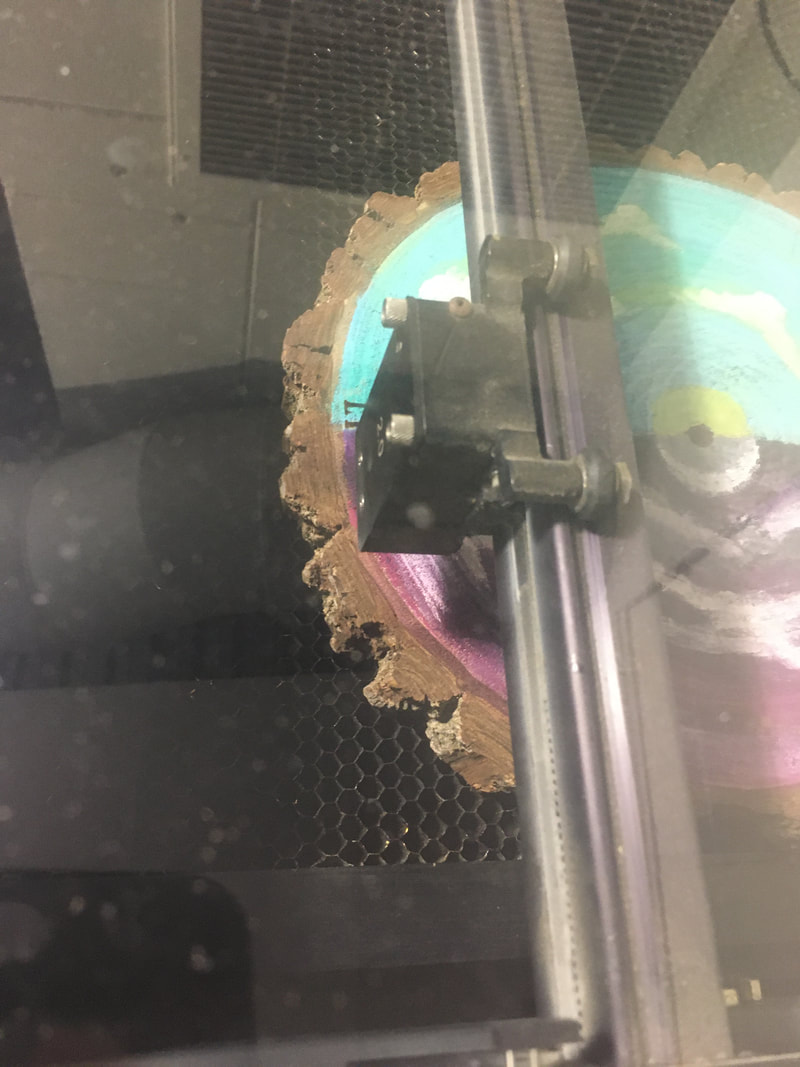
Router
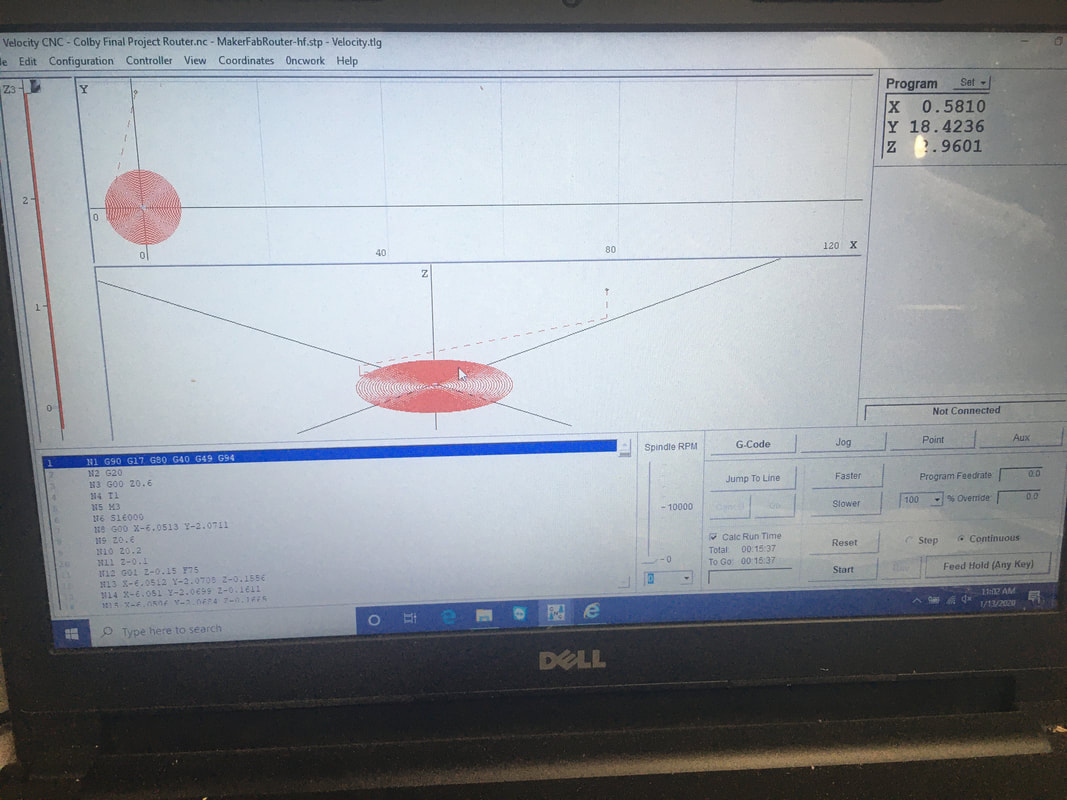
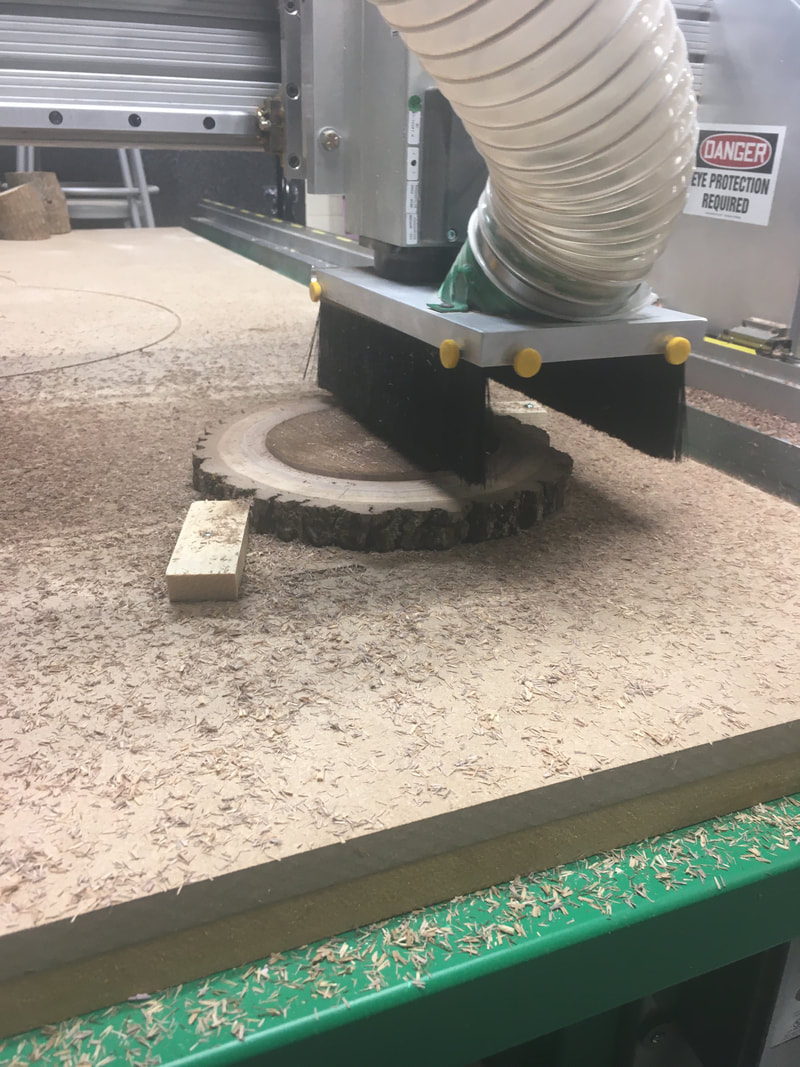
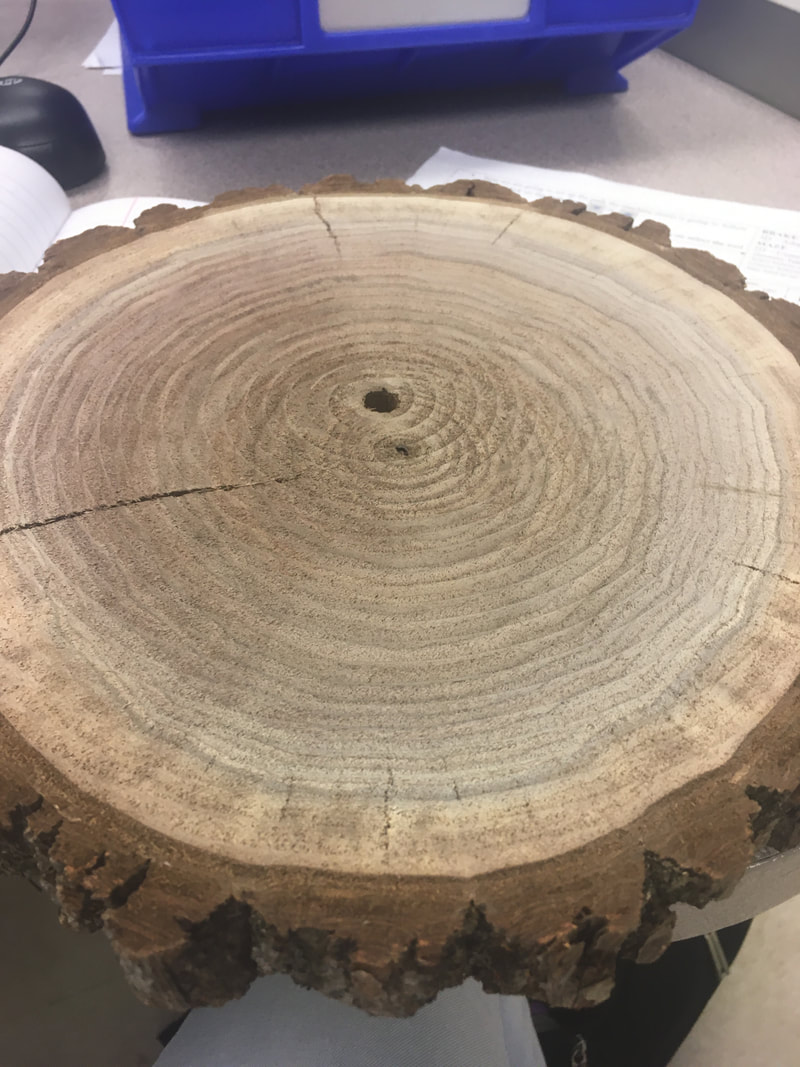
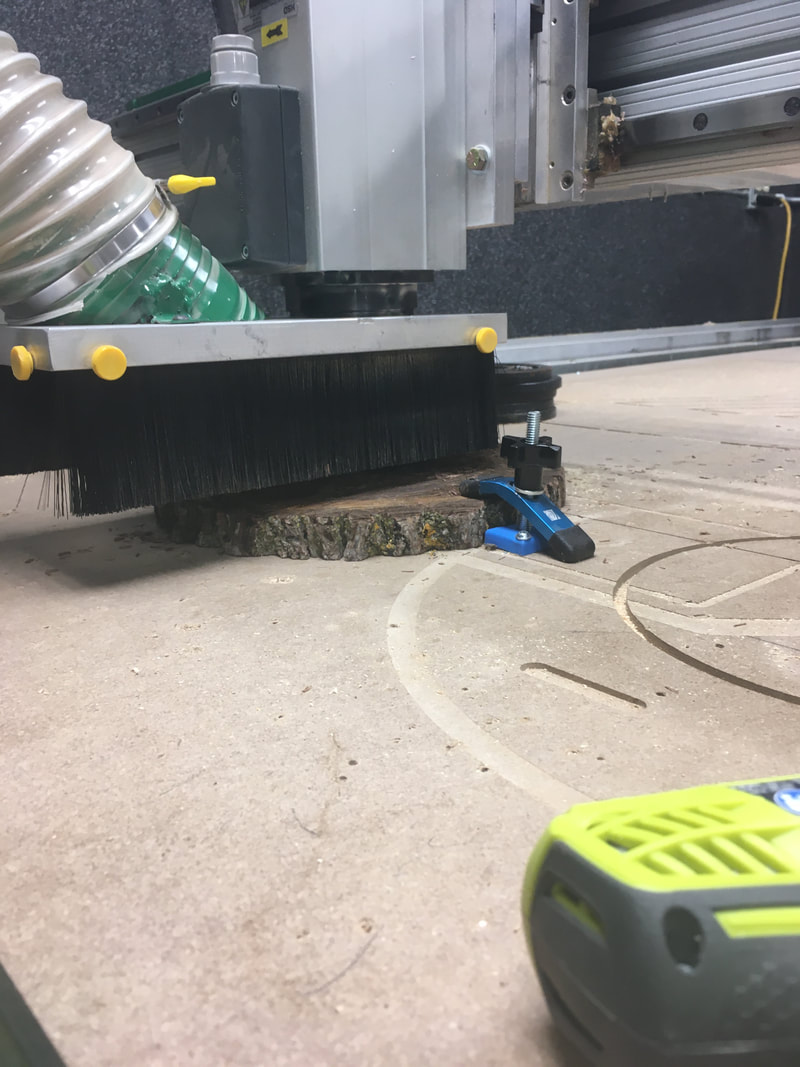
I used the router for two things. First, I routed my clock flat so I had a flat surface to laser my numbers onto and to paint. Then, I routed out a square to fit the clock mechanism into. It all worked out really well, except for the fact that I used my own hand router at home to route out the back of the clock a little bit deeper because the mechanism wouldn't fit yet.
3D Printer
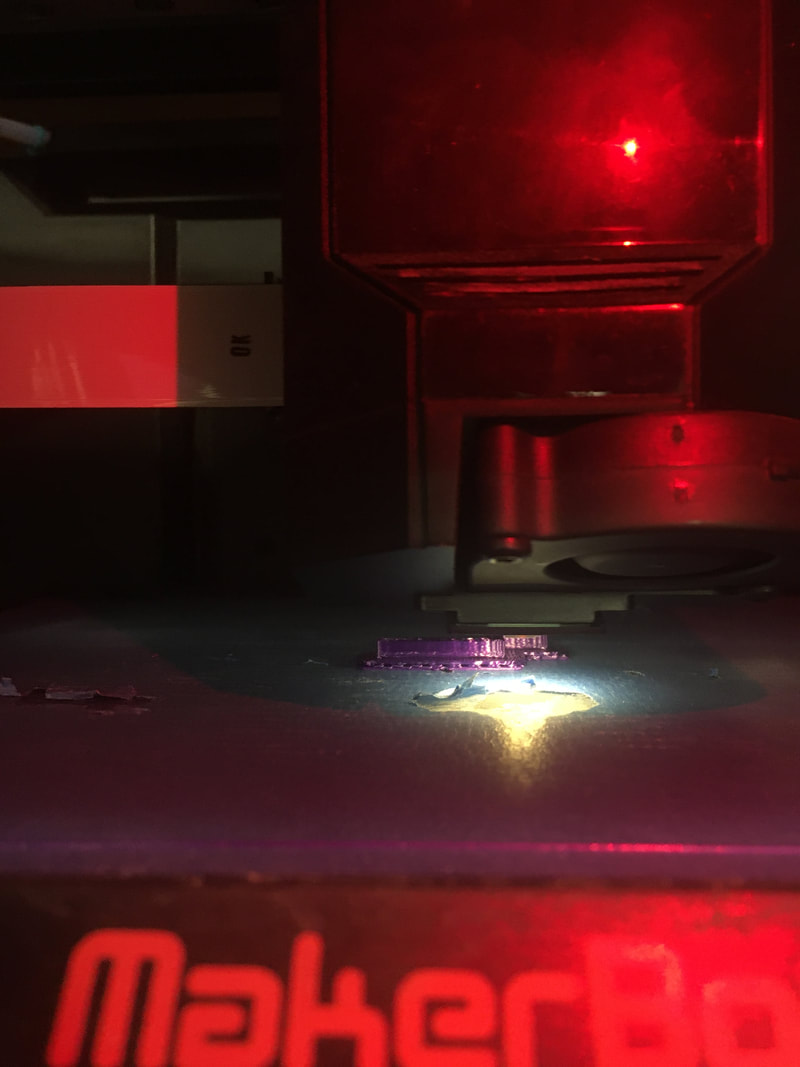
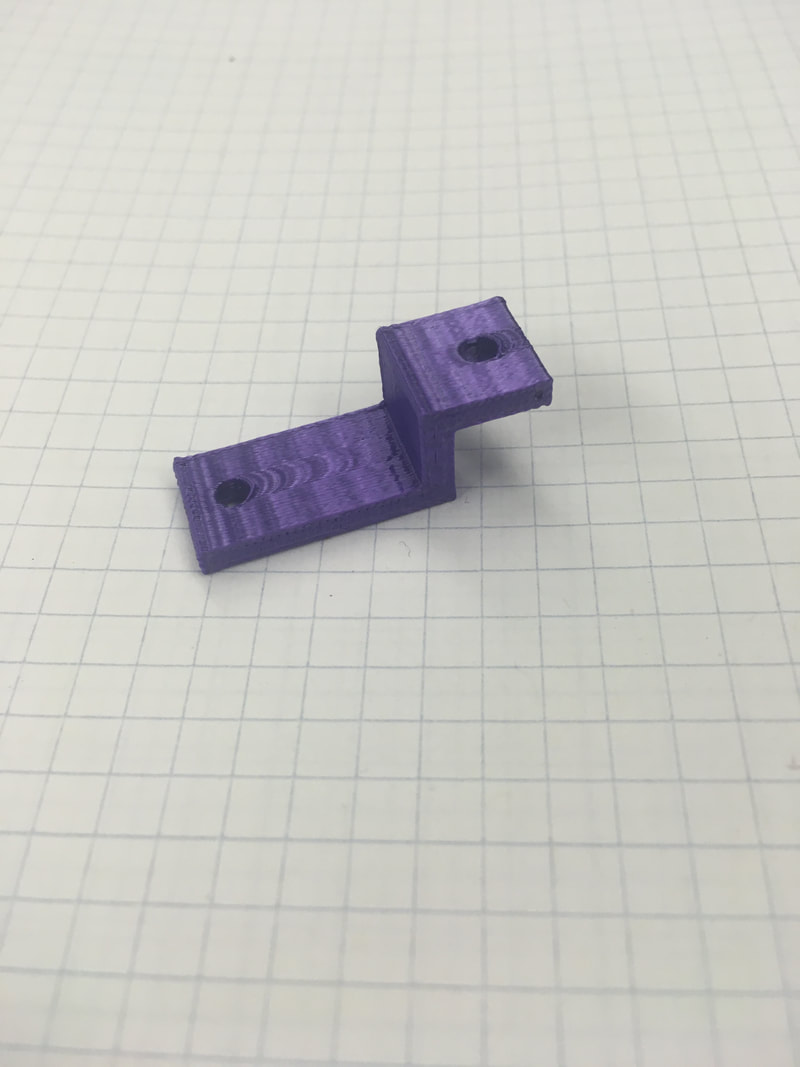
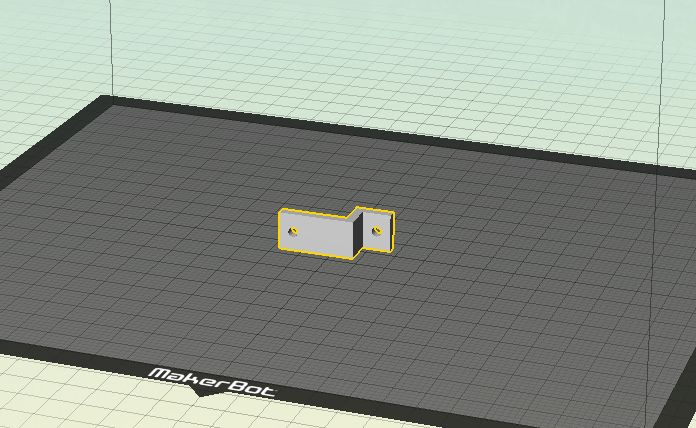
I 3D printed an L Bracket for my clock, to hold it onto the wall. I used the same file for the whole bracket, but I had to make it bigger because the holes were too small, so I printed the bracket twice. It ended up being a fairly easy process, and it turned out well.
Laser
Finally, I used the laser to engrave roman numerals into the clock face. I had to paint it first, but it engraved right over it and darkened up the numbers enough where they could be seen nicely. I had to do lots of adjusting on the file, as log cutouts are not a perfect circle, but it turned out really nicely.
Final Clock Result