Making a Brake Bracket
Making the brake bracket in Inventor turned out to be easier than I thought. In Fusion, and then on the mill, it was slightly more complicated because I didn't quite know how to use Fusion and the mill yet, but once I got the hang of it, it turned out well and was fairly easy. I had more confidence during this specific assignment than any other, because the mill was easier to learn in my opinion. I enjoyed doing the brake bracket, it seemed like it was the least complicated.
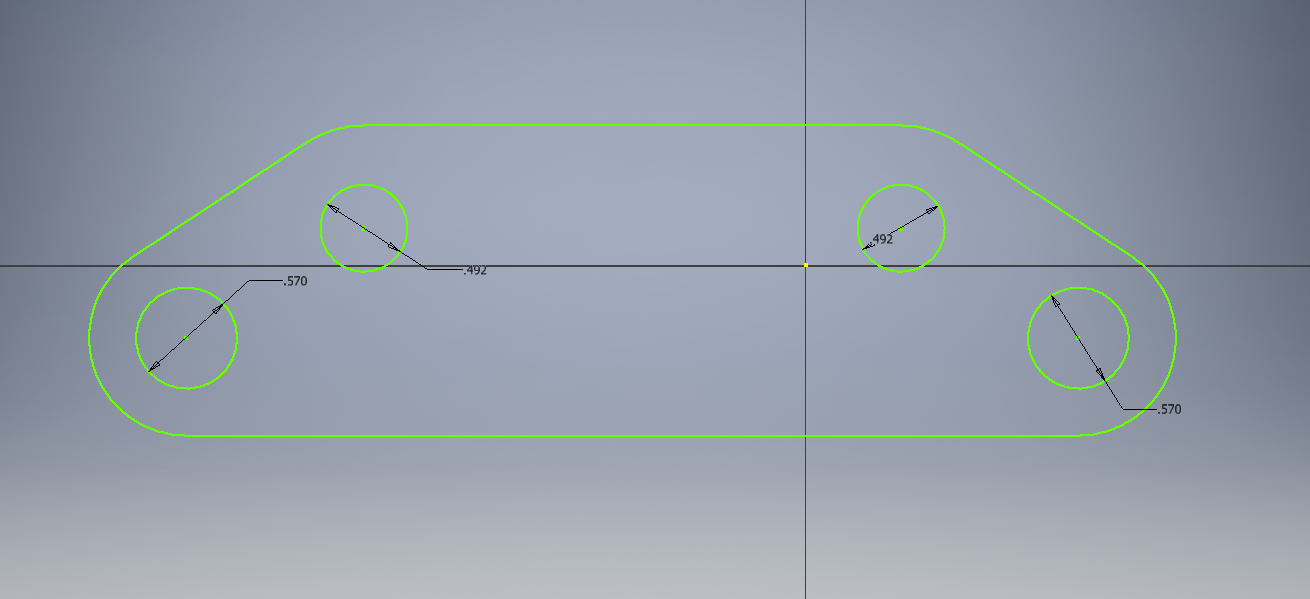
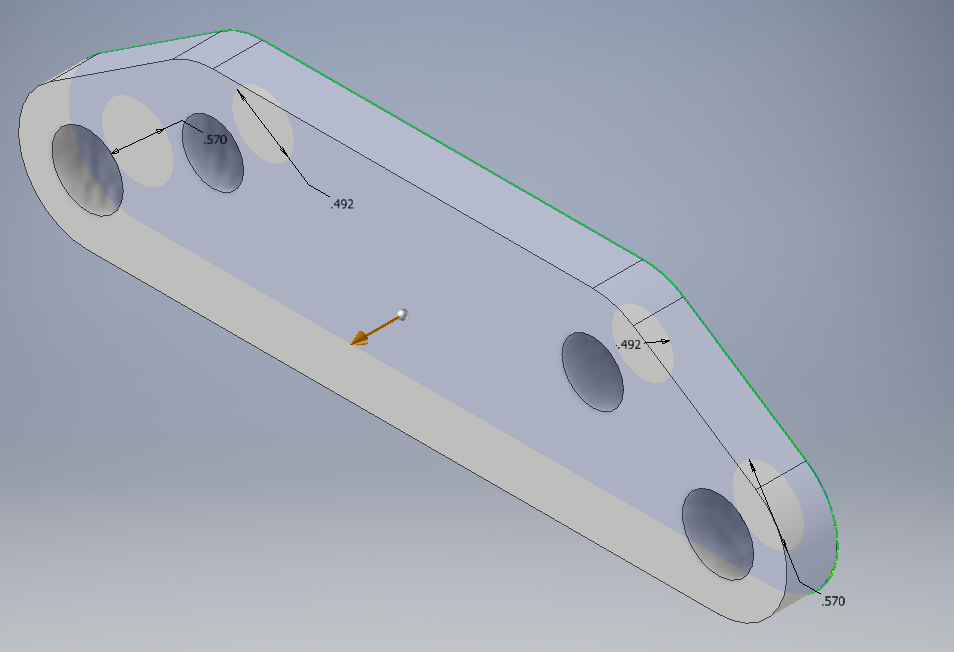
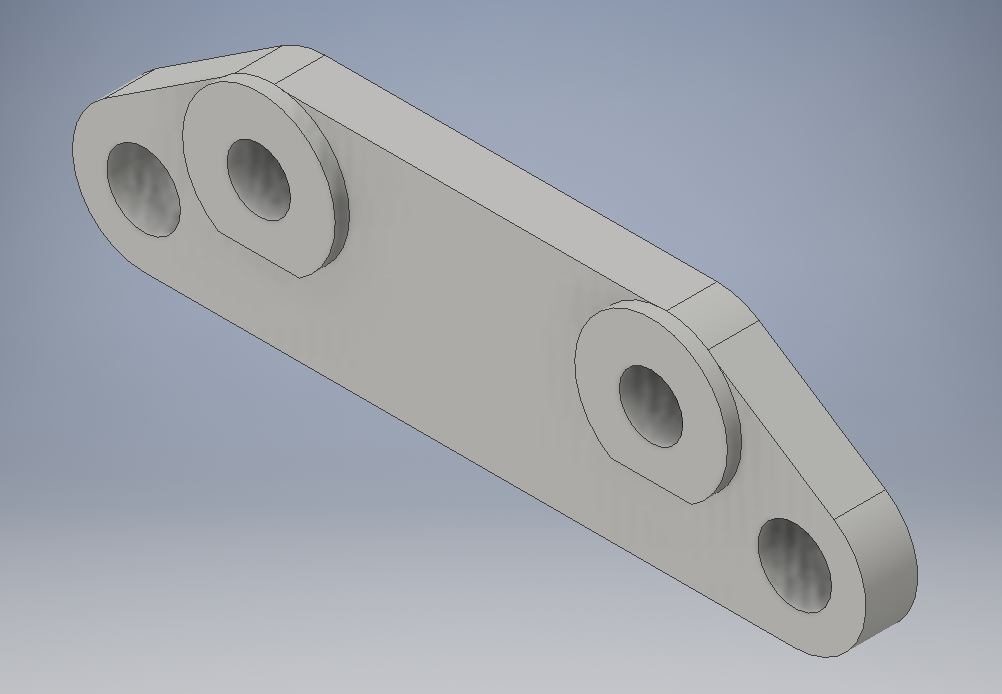
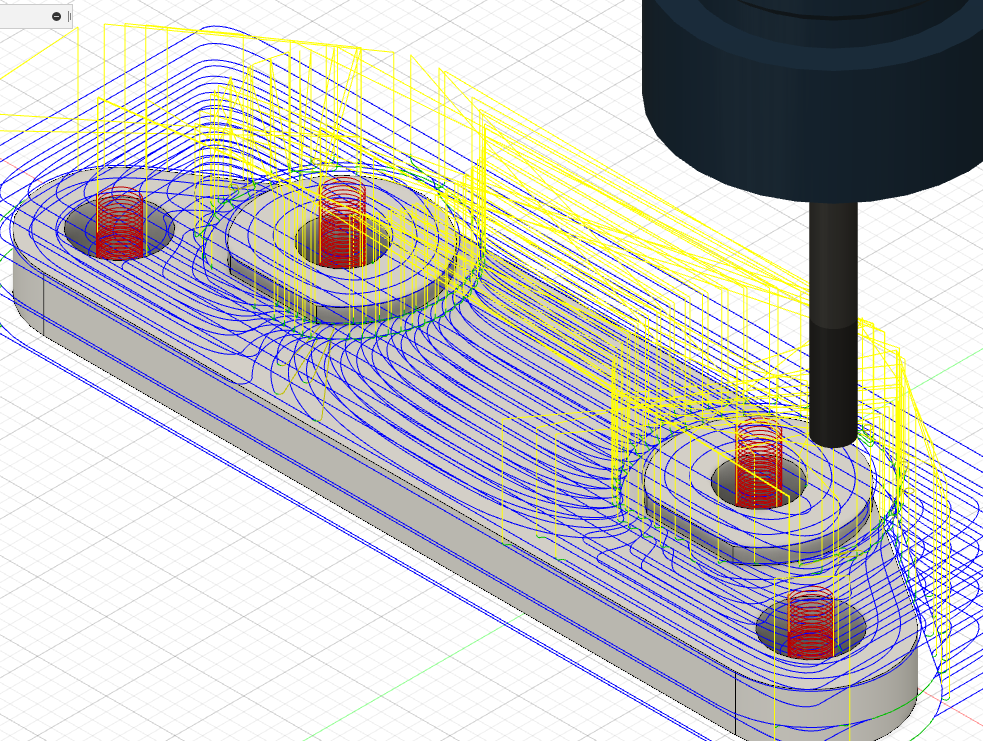
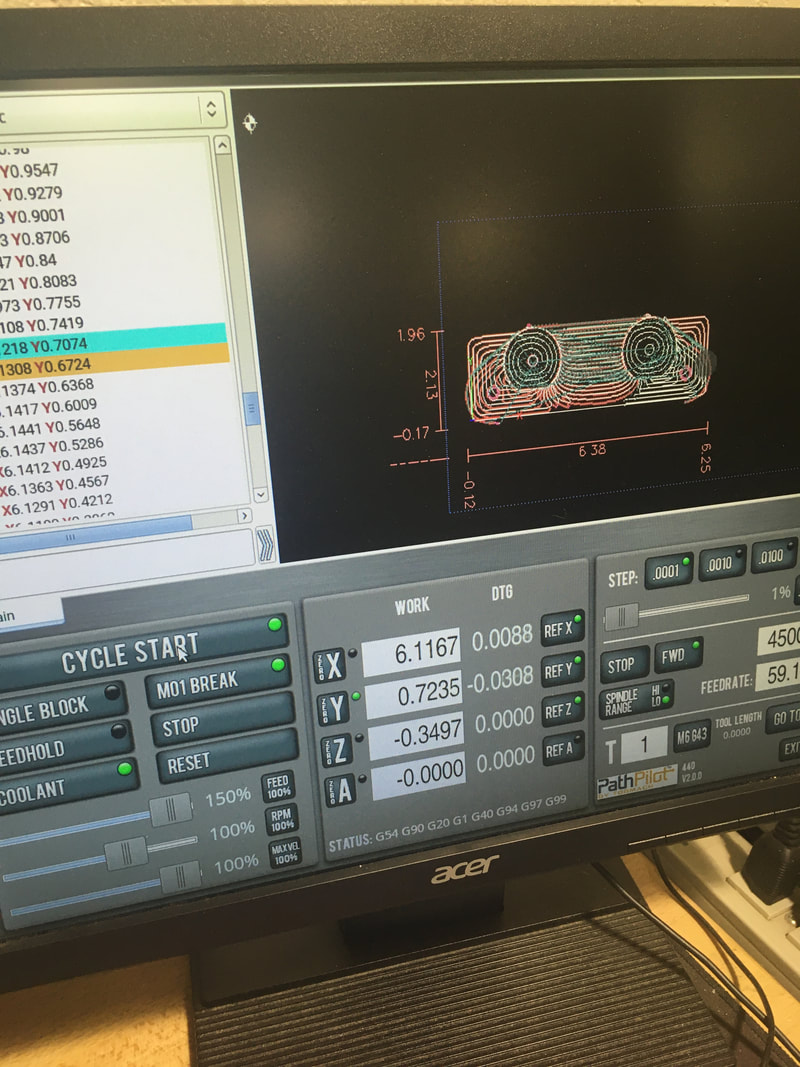
To make the brake bracket, it was fairly easy. We were given a sheet with all of the dimensions and how to make the brake bracket, so it was one of the easier projects. The first thing I did was I sketched out the first layer, without the top circles, and I extruded it. I then made a new sketch on top of the extruded piece and extruded the circles on top of the bracket. I exported it into fusion and plotted out the paths.
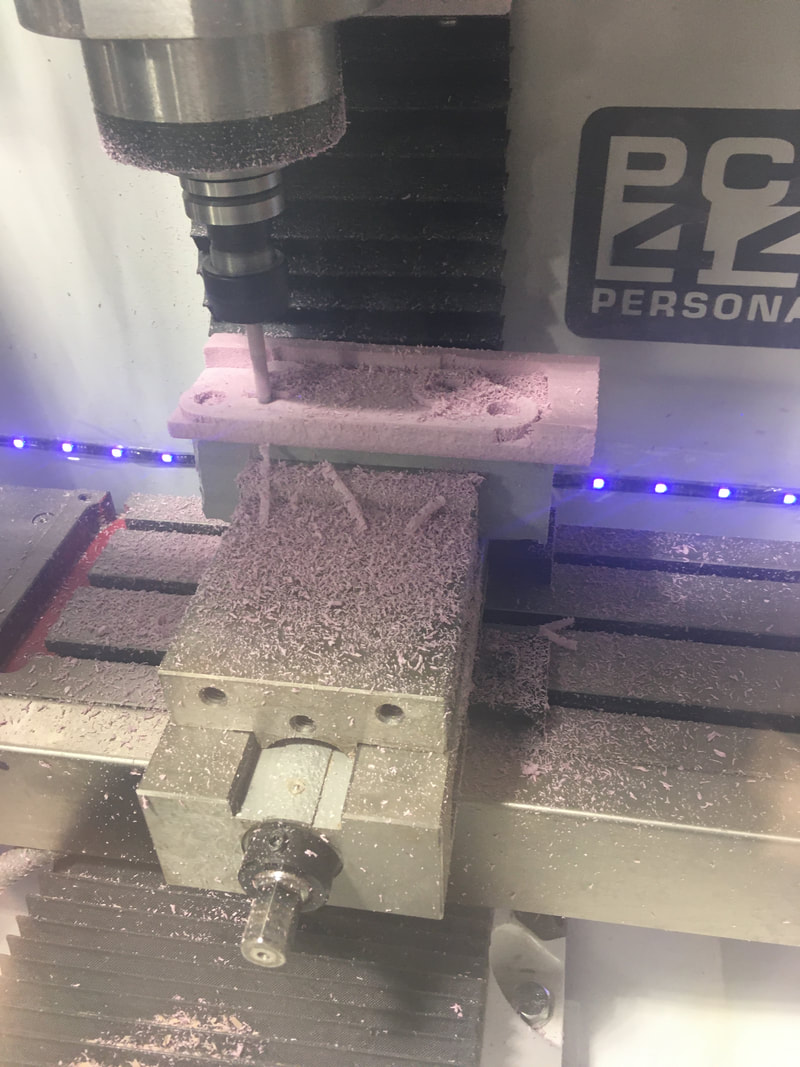
After that I had to take it down to the mill and mill out the bracket. It took a lot longer than I thought it would, and I had to wait a class period to get it done because the first time, I wouldn't have been done before the end of class.
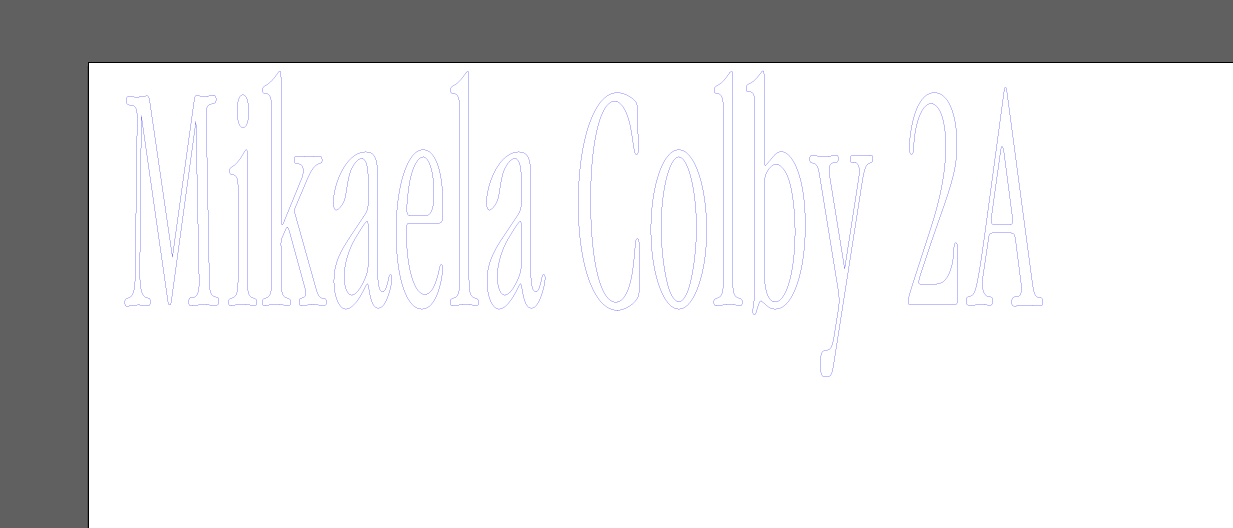
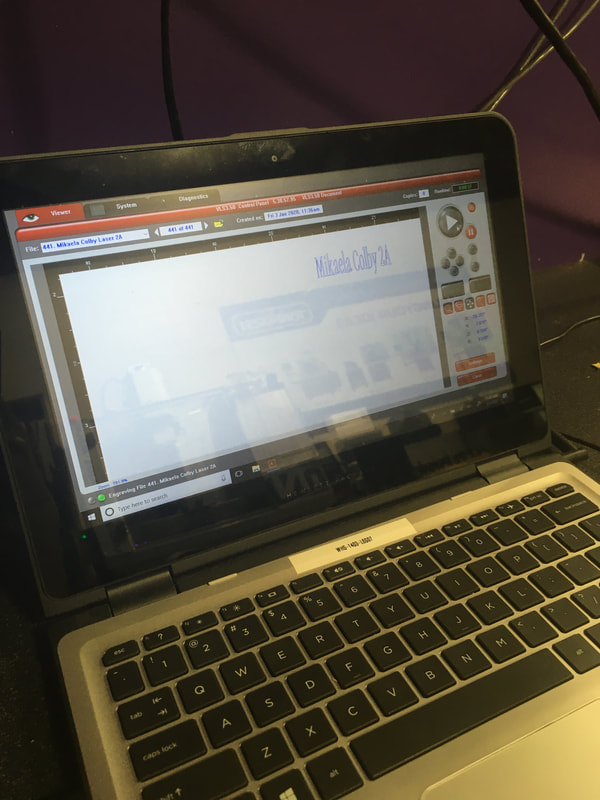
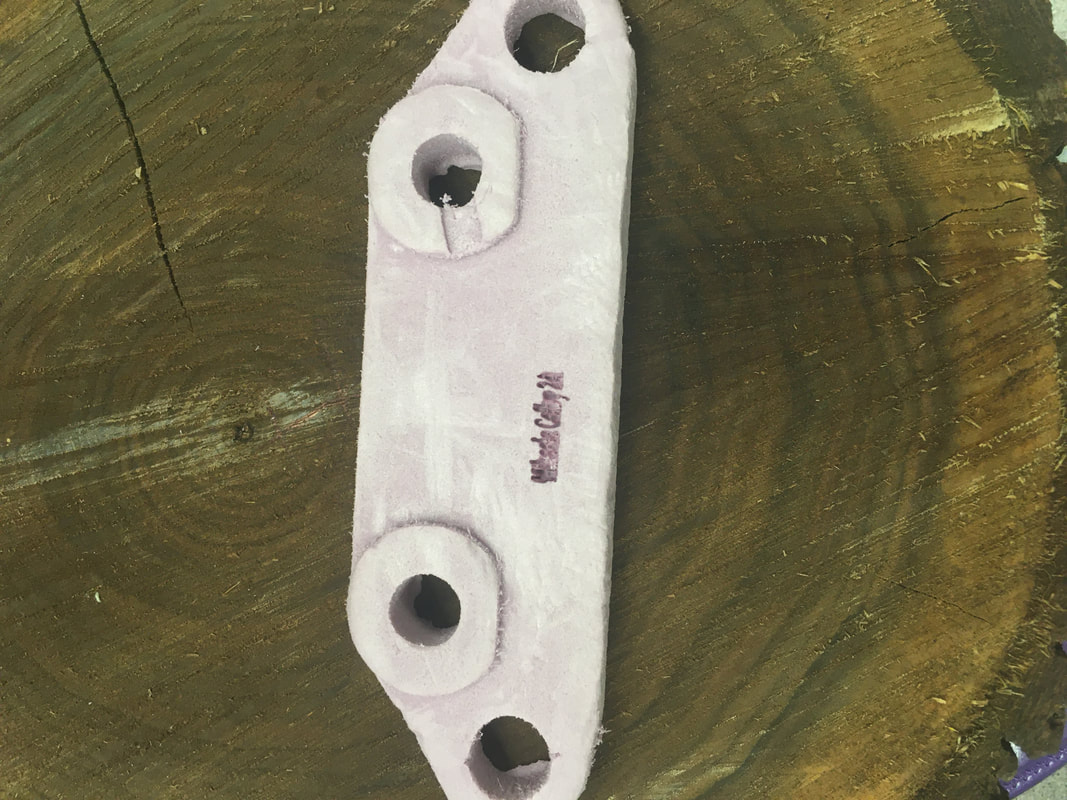
I then had to laser my name on my brake bracket, which was easy because I just had to make my file for my maze name a little bit bigger. I uploaded it into the program and cut it on the laser, which only took a few seconds. It was easy.
